Silver Clay Ring Tutorial: Make Your Own Fine Silver Ring
The first ring I made with silver clay was slightly too small, the join was visible if you knew where to look, and I'd rushed the drying. It held together fine. It was solid fine silver. I still have it.
This is the full process, start to finish. I'm going to tell you where things actually go wrong, because that's more useful than a tutorial that pretends nothing ever does.
What you'll need
The RingLab kit has everything except a butane canister, which you pick up separately at a hardware store for three or four dollars. Same canister as a kitchen torch. Don't buy the big one, the small camping size is fine.
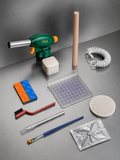
From the kit you'll be using the clay itself, the ring sizer, the wooden ring mandrel (wooden specifically, not metal, it matters for heat later), the acrylic plate, the craft knife, the paint brush, the wire brush, the sanding papers, the ceramic firing platform, and the torch head.
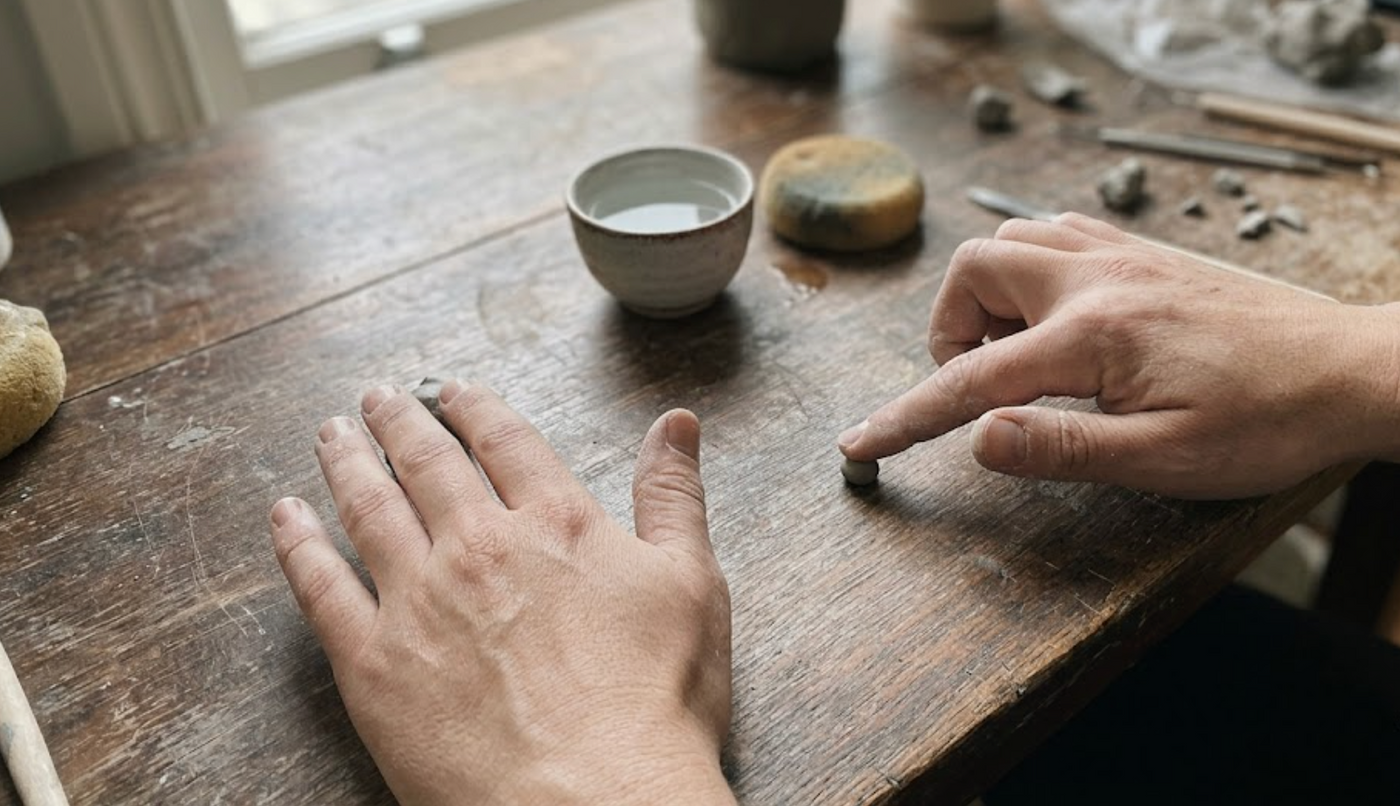
Two things to set out before you open the clay. A small dish of oil, for your fingers. And a small cup of water, for smoothing the join and rescuing clay that starts to dry. You will need both and you don't want to be hunting for them with clay already going off on your hands.
Oil on your fingers, water for the clay. Oiled fingers stop the clay sticking to you and tearing at the surface. Water goes on the clay itself, to smooth a join or bring a dry patch back.
One thing not in the kit: butane canister. Hardware store, $3-5. Everything else is included.
The size thing, before anything else
Silver clay shrinks about 12% when it fires. The ring you shape is not the ring you'll end up with. This is the single fact that causes the most first-timer problems, and it's not complicated once you know it.
Use the ring sizer to find your actual size. Then add three full sizes. That's the size you'll be working to on the mandrel. If your finger is a 7, you shape at 10. Write that number down somewhere you can see it. Mid-session is a bad time to try to remember it.
Shaping size = your ring size + 3. Always. Size 7 goal = shape at the size 10 mark on the mandrel.
Shaping the band
Once the clay is out of the packaging, you have about 15 minutes before the surface starts drying. Work at a normal pace, not rushed, but don't stop to take photos until the ring is on the mandrel.
Oil your fingers first. Then roll about 4 grams into a log on the acrylic plate. Turn it slowly, apply even pressure, and aim for something roughly the diameter of a thick pencil. If it starts cracking as you roll, a fingertip dipped in water and 30 seconds of working it back in fixes it. This happens to almost everyone at least once. It's not a sign you're doing it wrong.
When the log is long enough to wrap around the mandrel at your target size, lay it against the mandrel at that mark and overlap the ends by about 5mm. Cut through both layers at once with the craft knife, at a slight angle rather than straight across. The angle gives you a mitered join that sits flush when pressed together. Press the ends together firmly, then wet the join with the paint brush and smooth it until you can't feel where it is.
It doesn't need to be invisible right now. It needs to be solid. You'll sand it once it's metal.

If you want texture, this is the moment. Pressing into wet clay gives you a clean transfer. Pressing into clay that's started to dry gives you cracks. Whatever you're using, press it straight down and lift it cleanly. Coins work. Fabric works. The bottom of a ring you already own works and the result looks better than you'd expect. A woman in one of our early sessions pressed a piece of window screen mesh into her clay and the finished ring looked like something from a jewelry counter. It was her first one.
Texture now, not later. Once drying starts, pressing causes cracks.
Leave the ring on the mandrel while it dries. Trying to slide it off while it's still wet just distorts the shape.
Drying is the step people rush
Moisture inside the clay when you fire it becomes steam. Steam cracks the piece. Every single time. Not sometimes. Every time. There's no recovering a ring that cracks during firing.
Leave it on the mandrel for 20 to 25 minutes, then twist it off gently and let it dry right through on the ceramic platform, up to an hour. A hair dryer on warm speeds it up. Keep the dryer moving so you're not blasting one spot.
The tap test: tap the ring lightly. A dry ring sounds hard and gives nothing. Any softness means the clay still has moisture in it and isn't ready. This takes literally a second and has saved a lot of rings.
Tap test: tap the ring lightly. Any softness = not ready. Hard and solid = fire it.
Before firing, twist the dry ring off the mandrel gently. Don't pull. Dry clay is far more fragile than wet clay, and a piece that breaks now cannot be reused. Leave any sanding until after firing.
Firing

Set the ceramic firing platform on a stable surface and put the ring flat on it. The platform is what takes the heat, so you do not need a tile or a firebrick under it. Keep the area around it clear of anything that can catch.
Light the torch and keep the tip of the blue cone about 3/4 inch (2 cm) from the ring. Move it in small circles. In the first 20 or 30 seconds you'll see smoke. That's the binder burning off. It's normal and it passes quickly.
After the smoke, you're watching for an even orange-red glow across the whole surface. Not the orange-white that means too hot. Not yellow. Orange-red. When you have that evenly across the whole ring, keep the flame moving and hold it for 7 minutes.
If one side glows before the other, slow down over the cooler side. Uneven glow usually just means the flame has been spending more time in one place. It's not a problem with the clay.
What you're looking for: even orange-red glow, held for 7 minutes. Yellow-white = too hot, pull back.
After 7 minutes, pull the flame away. Let the ring cool on the platform for 10 minutes. It holds heat much longer than it looks like it does, so leave it alone until then.
After the torch goes off

The ring is white.
This is the part nobody warns you about and it shocks people every time. It looks like something went wrong. Nothing went wrong. It's a thin layer of fine silver oxide that forms as the metal cools in air. The silver underneath is fine. The wire brush takes the white layer off.
Brush with firm strokes. Silver comes through. Keep going until the white layer is gone across the whole surface. The ring won't look polished yet. It'll look like matte silver. That's right.
Sand
Work the sanding papers from coarsest to finest. Coarse first to level the join and any rough spots, then finer and finer. The join should disappear under your fingertip. The more you work it, the smoother and brighter the silver gets. You can see the difference in real time.
Go over the whole band: the face, the sides, the inside. Stop when you like how it looks. For textured rings, work the raised surfaces only and leave the recessed areas matte. The contrast does more for the design than sanding everything flat. Slightly tight? Sand the inside of the band with the finest paper, a little at a time, testing as you go.
Coarse to fine, and stop when you like it. Textured rings: raised areas only.
What actually goes wrong
The join is the most common problem area. A crack at the join either during drying or after firing almost always comes from the same place: the ends weren't pressed together firmly enough, or you didn't work the join smooth with a wet fingertip. If you catch it before firing you can wet the join and press it closed again. After firing there's nothing to do.
The ring being too small is the most predictable mistake. Someone shapes at their actual size, the ring fires, it's three sizes small. The fix is knowing about the shrinkage before you start, which you do now. Add three sizes. Every time.
Dull finish after sanding usually means the wire brush step got skipped or rushed. If you sand over the white layer it won't come up bright. Go back to the wire brush, clear the surface properly, then sand again.
The surface looking rough or pitted after firing. Usually comes down to the drying step. Either the clay had a tiny air pocket, or there was more moisture in it than the tap test caught because the test was done too early. Give it longer to dry than you think it needs.
None of these problems waste the silver. Reconstituted clay is the same clay. The learning is fast. Most people who redo their first ring get the second one right, and the second one is noticeably better.
The RingLab Silver Clay Kit has everything in this tutorial. One butane canister from the hardware store and you're ready to start. Free standard shipping, duties paid.
ready to make your own?
Everything you need in one box. Shape it, fire it, wear 99.9% fine silver.
Shop the kits →