How It Works
By William, SILVERCRAFT co-founder | 6 min read | Updated July 2026
People ask me what the kit actually involves before they buy it, which is fair. Nobody wants to order a box and then discover it needs a workshop, a kiln, and a weekend they do not have.
So here is the whole thing, honestly. Five steps. About forty-five minutes of your hands actually doing something, and a chunk of waiting in the middle where you drink tea.
What you are actually working with
Silver clay is 99.9% pure silver in powder form, held together with water and a plant-based binder. That is genuinely all it is. It feels like grey modelling clay and it behaves like grey modelling clay.
When you heat it, the binder burns off and the silver particles fuse into solid metal. The process is called sintering. It is what industrial metal parts are made with, except you are doing it on a ceramic platform with 5 grams of material instead of in a furnace.
The silver was always there. You are just giving it a shape and then removing everything that is not silver.
Step 1: shape it, and get the size right

The clay arrives in a sealed pack. Once you open it, you have about 15 minutes before the surface starts to firm up. Not a countdown to panic about, but do not open it and then go answer emails.
Work on the acrylic plate that comes in the box. It gives you a smooth surface to roll on and it wipes clean afterwards.
Before you touch the clay, put a little oil on your fingers. A drop is enough. Oiled fingers stop the clay sticking to you and stop the surface tearing as you work it. This is the single thing that separates a session that feels smooth from one that feels like a fight.
Then the part that catches almost everyone.
Silver clay shrinks about 12% when it fires. The ring you shape is not the ring you get. Use the ring sizer to find your real size, then add three full sizes and shape to that mark on the mandrel. If you wear a size 7, you shape at 10. Write the number down before you start, because mid-session is a terrible time to try to remember it.
The one rule that matters: shaping size = your size + 3. Size 7 goal means shape at the size 10 mark. Every time.
If you want texture, press it in now, while the clay is still soft. A coin, a piece of lace, the bottom of a ring you already own. Press straight down, lift cleanly. Once the surface starts drying, pressing causes cracks instead of patterns.
Step 2: let it dry properly
This is the step people rush and it is the step that ruins rings.
Moisture left inside the clay turns to steam when the torch hits it. Steam has nowhere to go, so it cracks the piece. Not sometimes. Every time.
Leave it on the mandrel for 20 to 25 minutes, then twist it off gently and let it dry right through on the ceramic platform, which can take up to an hour. A hair dryer on warm speeds it up, as long as you keep it moving instead of blasting one spot.
To check: tap it lightly. A dry ring sounds hard and gives nothing. Any softness means there is still water inside and it needs longer. It takes a second and it has saved a lot of rings.
Step 3: handle it like chalk
Once dry, the clay feels like chalk. Leave the join and any rough edges alone for now. You will sand them once the ring is metal.
Be gentle. At this stage the piece breaks if you squeeze it, and a dry piece that breaks cannot be reused. It is the most fragile it will ever be, and a few minutes of fire later it will be the toughest.
Do not chase perfection here. Once it is metal you can apply real pressure and sand it properly.
Step 4: the torch

The kit has the torch head. You supply a standard butane canister, three or four dollars at any hardware store.
Set the ceramic firing platform on a stable surface, put the ring flat on the platform, open a window. Work away from anything flammable, the same care you would take with a gas hob. The platform is what takes the heat, so you do not need to find a tile or anything else to fire on.
Light the torch and keep the tip of the blue cone about 3/4 inch (2 cm) from the ring, moving in small circles. Never let it sit still in one place.
For the first 15 to 30 seconds you will see a little smoke. That is the binder burning off. Keep going.
Then you are watching for one thing: an even orange-red glow across the whole surface. Not bright red. Not yellow-white. Those mean too hot, and too hot is how a thin band melts.
When you have that even orange-red, start a timer and hold it there for 7 minutes. Seven minutes of glow, not seven minutes of torch time. Then pull the flame away.
The glow is your guide, not the clock. If the colour is right and even, you are firing correctly. If you are unsure, an extra minute will not hurt. Underfiring is a much bigger problem than a slightly long fire.
Let it cool on the platform for 10 minutes. It holds heat far longer than it looks like it does, so leave it alone until then.
Step 5: the part nobody expects

The ring comes out white.
Everyone thinks something has gone wrong. Nothing has gone wrong. It is a thin layer of oxidised silver that forms as the metal cools in air, and the wire brush takes it off.
Brush firmly. The silver appears underneath, matte at first. Then work the sanding papers from coarsest to finest. The more you work it, the smoother and brighter it gets. Stop when you like how it looks.
On a textured ring, sand only the raised surfaces and leave the recesses matte. The contrast does more for the piece than sanding everything flat.
I have watched this moment happen dozens of times in test sessions and the room still goes quiet when the silver comes through. It is the part people remember.
So how long does the whole thing take
Plan 90 minutes to two hours at the table, plus drying time: 20 to 25 minutes on the mandrel, then up to an hour off it, less with a hair dryer.
Most of the waiting is the drying step, and it is the most sociable part of the evening. You are not doing anything. You are just watching something dry and talking.
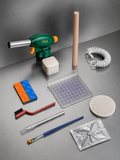
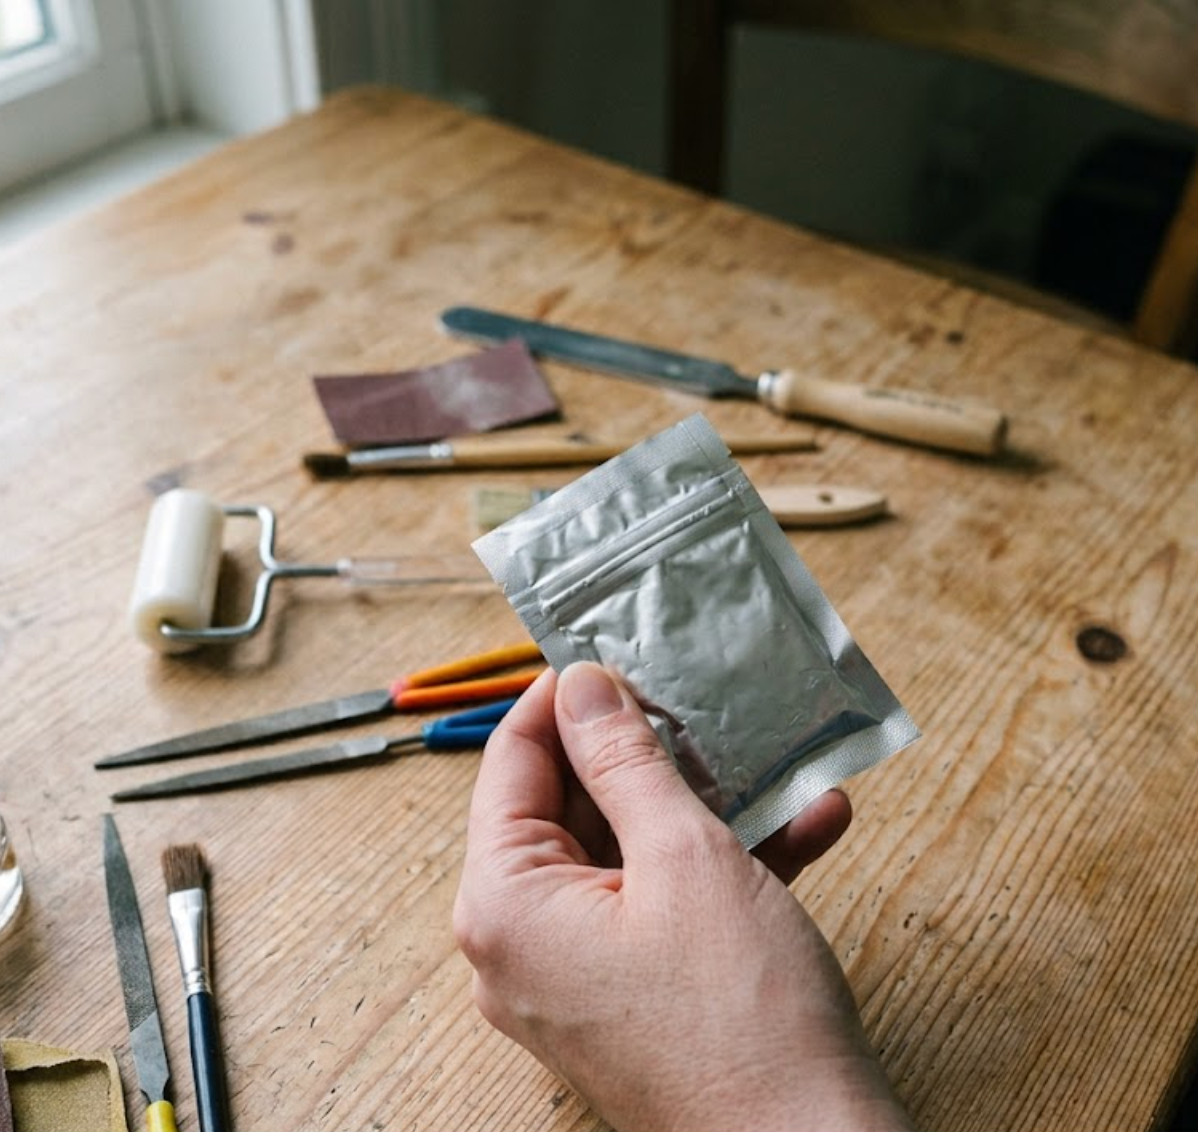
Everything in this guide comes in the box. Our silver clay kits: the RingLab Solo for one person, the RingLab Duo for two. One butane canister from the hardware store and you are set. Free standard shipping, duties paid.
Read next
What Is Silver Clay? The Complete Beginner's Guide
How to Fire Silver Clay at Home (No Kiln Needed)
Silver Clay Ring Tutorial: Make Your Own Fine Silver Ring
Silver Clay Troubleshooting: Dried Out, Cracking, Won't Fire?
- William, SILVERCRAFT co-founder
ready to make your own?
Everything you need in one box. Shape it, fire it, wear 99.9% fine silver.
Shop the kits →