Silver Clay Troubleshooting: Dried Out, Cracking, Won't Fire?
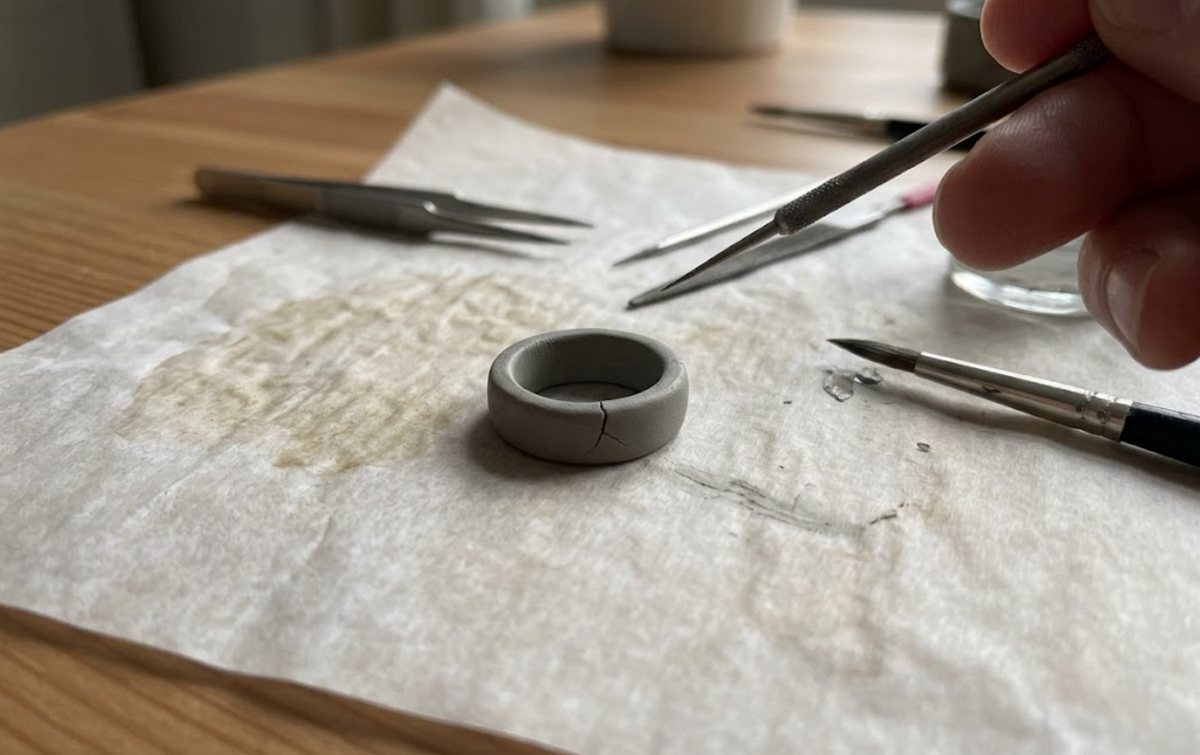
Something went wrong. The clay crumbled when you touched it, or the ring cracked on the mandrel, or you fired it and what came out looked nothing like the photos.
Before you write the kit off: most of these problems are fixable, and most of them we've seen before.
The clay crumbles right out of the pack
Silver clay dries from the outside in, and it starts losing moisture the second it hits air. A pack that spent three weeks in a warehouse, or one where the inner seal had a small imperfection, can arrive already on the firm side.
Don't toss it.
Put the clay in a small airtight container with a damp paper towel sitting in the corner. Not touching the clay. Just in the same closed space. Check it after 45 minutes. The clay draws moisture from the air around it, and when you open the container it should feel noticeably different.
If it's still a bit stiff after that, add exactly one drop of water to the surface and work it in with your fingers. One drop. More than that and the clay swings from stiff to sticky in about thirty seconds, and sticky clay tears when you try to shape it.
The first person outside our team to test this kit called us genuinely upset, convinced the pack was faulty. Clay falling apart at the edges. We walked her through the container method and two hours later she sent us a photo of a finished ring.
Storing clay between sessions
Most people set the leftover clay on the counter. By morning it's noticeably stiffer. Two days later it's a pebble.
Plastic film pressed tight against the clay with no air pockets, then into a small ziplock bag. That combination does a lot more than plastic film alone. Store it somewhere away from direct heat and sunlight.
For anything longer than a week, add a small damp paper towel inside the ziplock. Not touching the clay. The fridge is fine too, though cold clay shapes worse. Take it out twenty minutes before you plan to work with it.
Storage at a glance
Plastic film, no air gaps. Ziplock bag. Room temperature, no direct sun. For a gap over a week, add a small damp paper towel to the bag without it touching the clay. If it stiffened up anyway, rehydrate with the container method. Adjust consistency with one drop of water at a time.
The clay sticks to your fingers and tears
This one has a one-second fix that nobody thinks of: put a little oil on your fingers before you touch the clay.
Not water. Water on your hands makes the surface slick and then tacky, and you end up pulling material off with every pass. A thin film of oil lets the clay move under your fingers instead of grabbing at them. Water belongs on the clay itself, for smoothing a join or bringing a dry patch back, not on your skin.
Cracks
We saw at least a dozen rings crack across our test sessions. Almost all of them were salvageable.
Cracks while shaping are a dryness problem. The outer surface of the clay stiffens faster than the inside, and that gap in tension splits it. Cover any clay you're not actively touching with a small scrap of plastic wrap. Work in shorter bursts. Don't leave the piece exposed to air while you step away.
Catch a crack early and press the edges together with a damp fingertip. If there's still enough moisture in the clay, it seals and disappears after firing. You'd never know.
Cracks that show up while the piece is air-drying are a different problem. Let the whole thing dry out completely first. Then make a thin paste from a small amount of fresh clay and a drop of water, fill the crack with it, smooth it down, and let it dry again before you fire. Rushing the second dry is where people go wrong.
One rule: don't fire an open crack. It gets wider, not smaller.
Does silver clay shrink when fired?
Yes. That's not a defect.
The clay has a binder in it that burns away during firing. When that happens, the silver particles pack together and the whole piece contracts. The silver clay shrinkage rate for our clay is about 12%.
For a ring that means: shaped at a US 10 before firing, it comes out around a 7. That is why the guide tells you to size up by three full ring sizes. The shrinkage rate doesn't vary randomly. After your first ring you'll have a number you can work with.
Ring size rule: shape 3 sizes above your target. Size 7 goal = shape at the size 10 mark.
Ring came out too small? You measured correctly and forgot to account for it. Not the clay's fault. We wrote more about sizing in How Much Silver Clay Do I Need for a Ring?
The ring won't come off the mandrel
Clay contracts as it dries and grips the mandrel from the inside. Pull too soon and the ring distorts, sometimes badly.
Let it dry fully first. No cool patches when you press it, even matte color with no darker areas. Then twist rather than pull straight. That usually works.
If it's still stuck, put the whole mandrel in the freezer for five minutes. I genuinely don't know why this works as consistently as it does. Cold metal, slight contraction. Whatever the reason, the ring slides free almost every time.
Came out dull and patchy after firing

Everything comes out looking rough right after the torch. That whitish, dull coating is silver oxide from the heat. It's supposed to be there. The wire brush takes it off.
Firm circular brushing, not gentle. The silver underneath starts showing, matte at first, then brighter as you keep going. Then work the sanding papers from coarsest to finest for a brighter finish.
Still patchy in one spot after brushing? That area didn't fully sinter. Bring the whole piece back to an even orange-red glow for a few more minutes and brush again. Parts that already fired won't be damaged by the second pass.
The inside of the band tends to stay duller than the outside, even after sanding. That's normal.
The clay won't fire properly
Two variables: distance and movement.
Hold the torch too far from the ring and the clay never gets hot enough, no matter how long you keep going. About 3/4 inch (2 cm) from the tip of the blue cone is right. Keep the torch moving in slow circles rather than sitting still over one area.
The timing that matters is 7 minutes of glow, not 7 minutes of torch time. You light the torch, you wait for an even orange-red across the whole surface, and only then do you start counting. Getting to that glow can itself take a minute. Thicker bands take longer to get there, but the 7 minutes at temperature stays the same.
If the surface starts looking wet and reflective, that's the clay beginning to melt. Pull the torch back and let it cool before continuing.
Do this in a dim room if you can. The faint orange glow that shows the clay has reached the right temperature is genuinely hard to spot in bright light. The full process is in How to Fire Silver Clay at Home (No Kiln Needed).
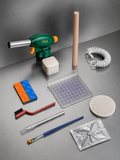
Every kit comes with our step-by-step online guide, sent by email, which covers all of this before you hit it. Our silver clay kits: the RingLab Solo for one, the RingLab Duo for two. Free standard shipping, duties paid.
ready to make your own?
Everything you need in one box. Shape it, fire it, wear 99.9% fine silver.
Shop the kits →